LED Strip Lights
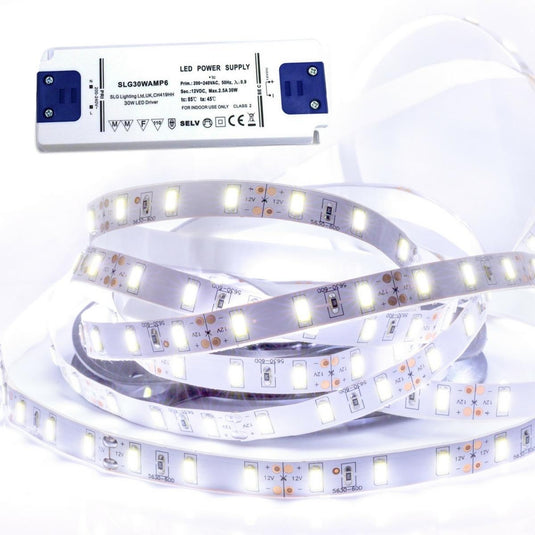
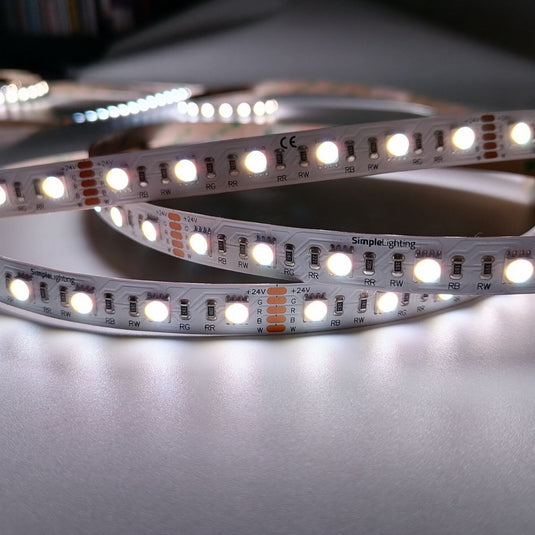
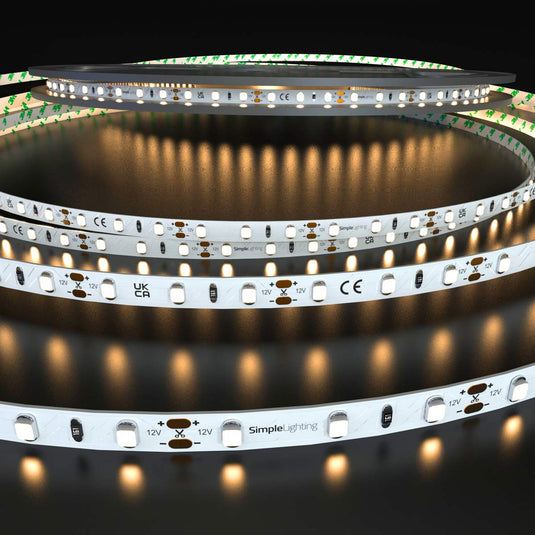
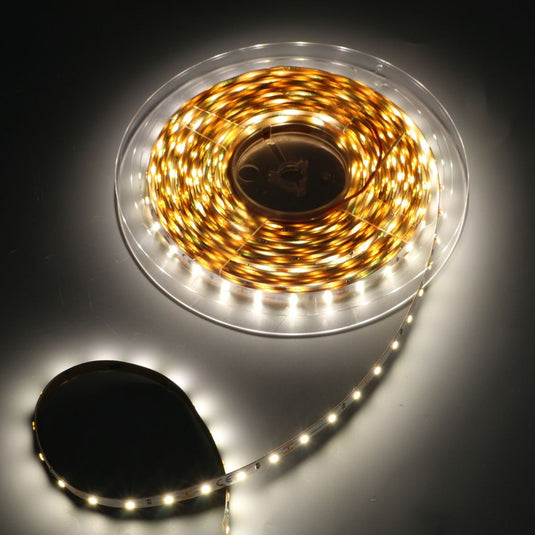
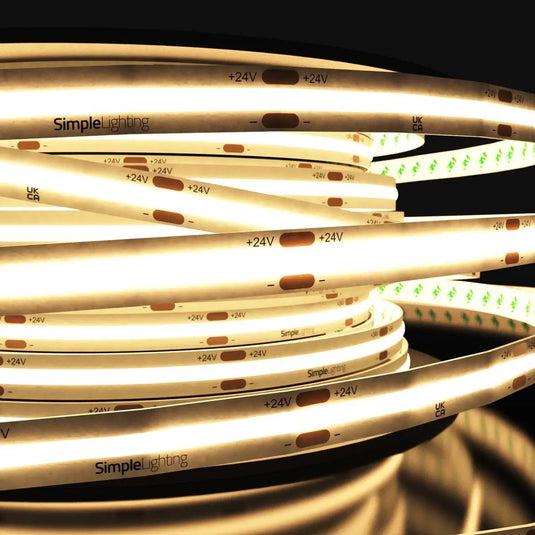
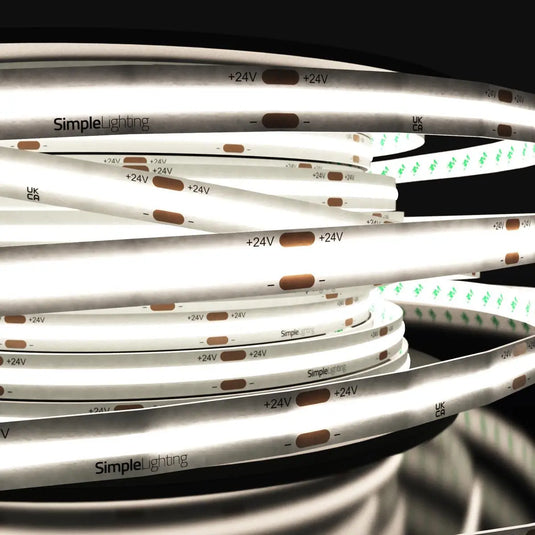
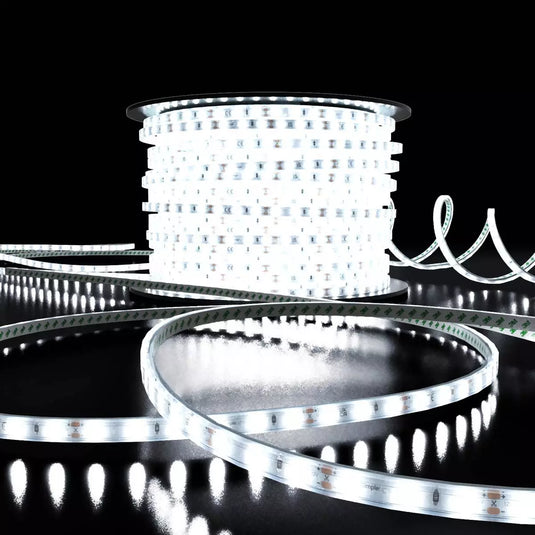
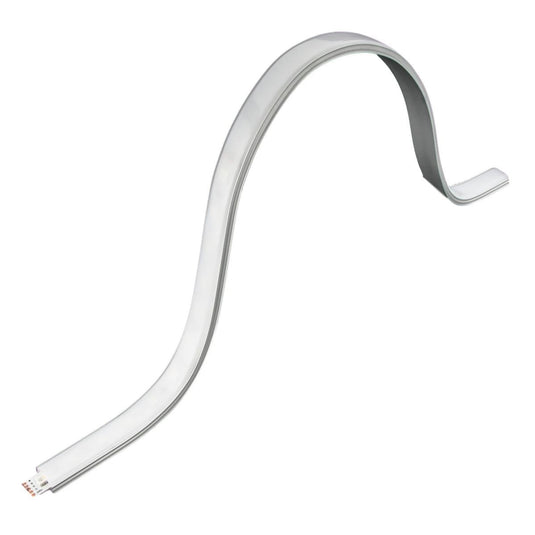
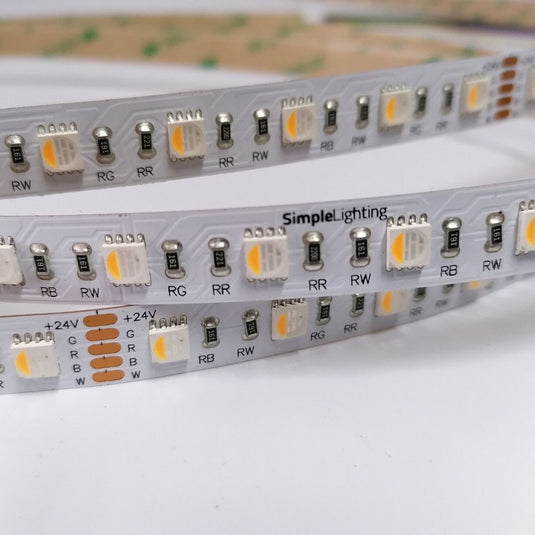
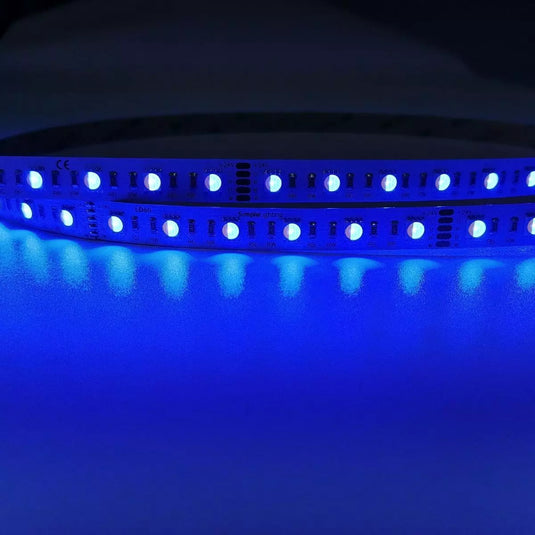
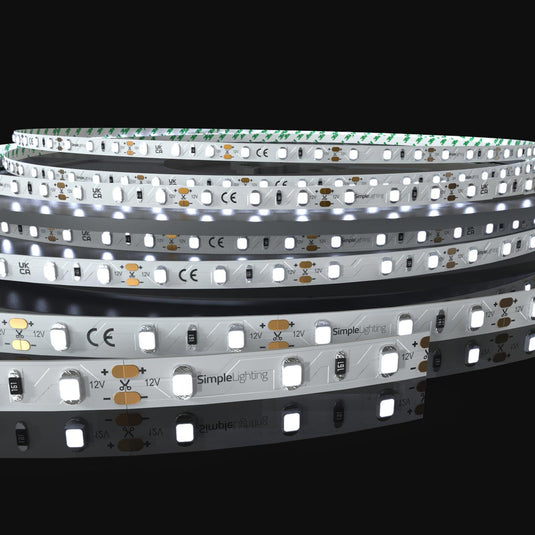
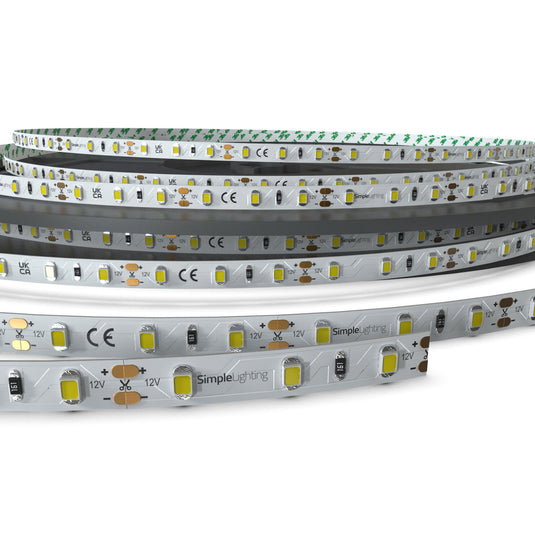
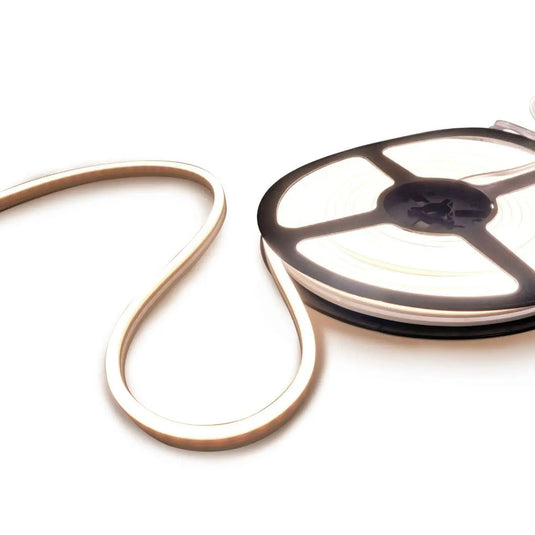
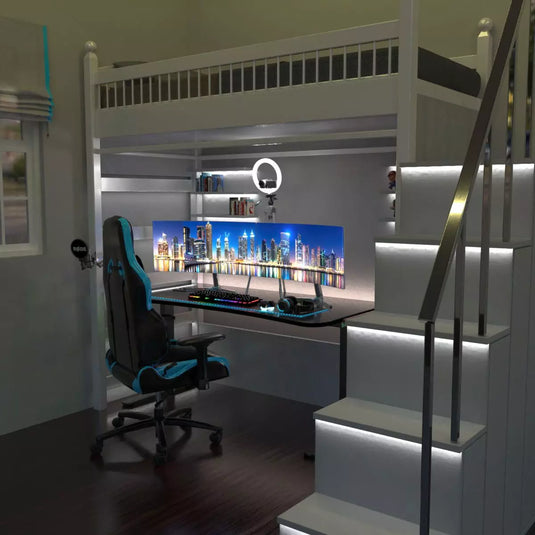
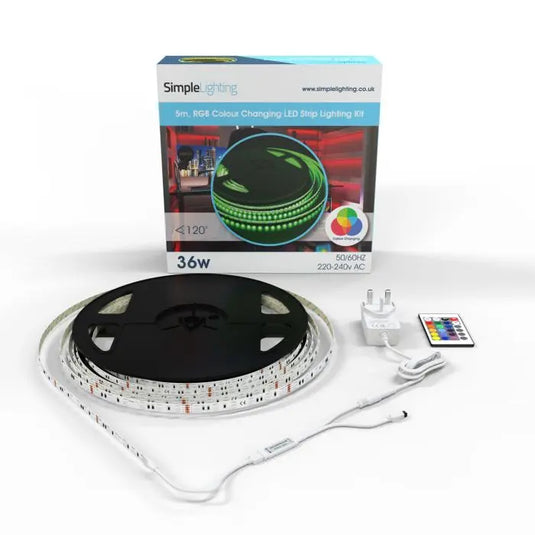
LED strip light bulbs are flexible ribbon-like circuit boards embedded with LED lights on one side and a double-sided adhesive on the other side. These energy-efficient lights are crowned as the most versatile lighting solution because they are effortless to install and produce intense brightness that can compete with conventional lighting fixtures! If you want to be extra creative with your lighting, these lights come in various colours, so you can use them to make your artistic side shine!
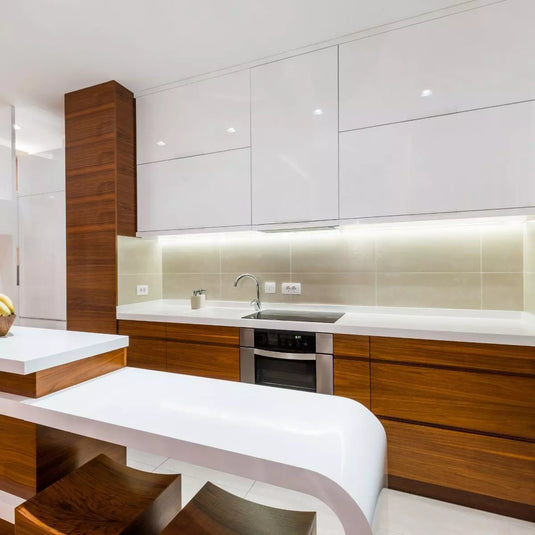
Usually, you will see these lights in commercial and residential establishments used as an accent, ambient, or decorative lighting. But there's no limit as to where you can mount these lights. Whatever specifications you have, there will always be LED strip lights to suit your needs!
Can You Cut LED Strip Lights?
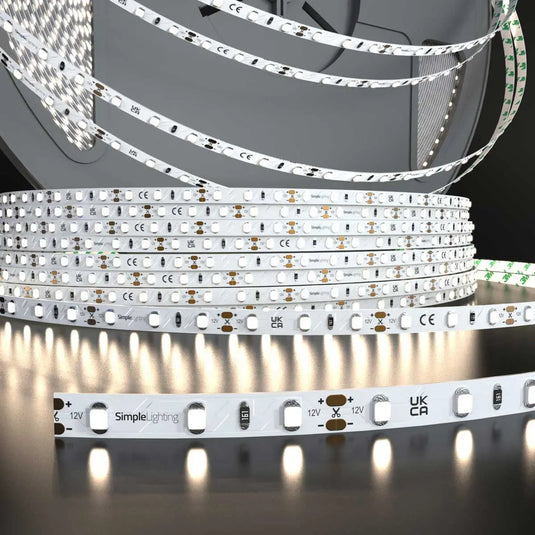
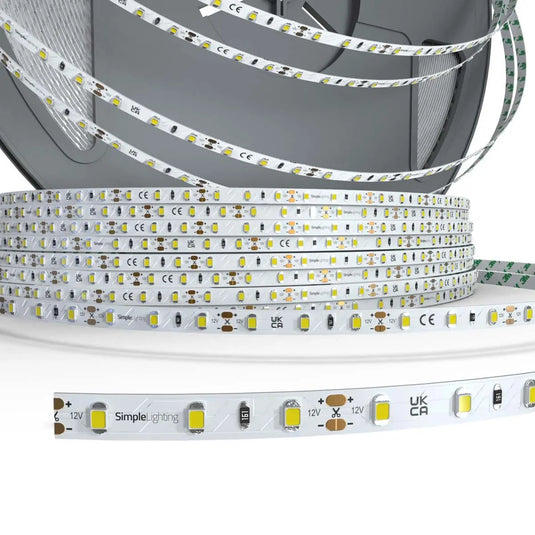
You can cut your LED tape at the cutting marks (usually indicated by a small scissors icon on the strip) the manufacturers designated. Depending on your lights, the intervals may vary from 10cm, 5cm, 2.5cm, etc. To ensure that you get the measurements you need, check the product description to see the cuttable intervals of your lights.
If you're wondering if it’s easy to cut, yes! All you need is a pair of sharp scissors to snip across the cut points. We do not advise trimming beyond the cutting marks because you might damage the circuit board or any essential components of the strip lights. So, stick with the cutting marks to avoid ruining your lights.
Anyway, if you want to skip all these hassles, we offer a cutting service for our strip lights. We'll make your strip to your exact length requirements so when you receive them, they’re ready for installation.
How to Install LED Strip Lights?
Installing LED strip lights isn’t as hard as you think and can be super easy to install. So, if you're ready to transform your home's aesthetic design, whether it be the living room, bedroom, etc - follow these simple steps.
- Prepare all the materials that you’ll need.
- Clean the area where you intend to install your lights.
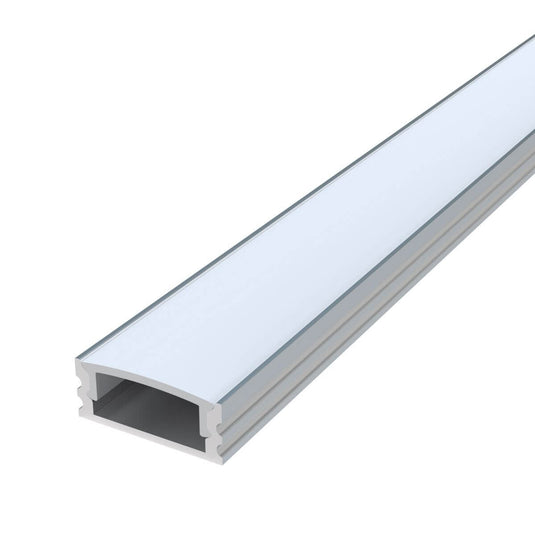
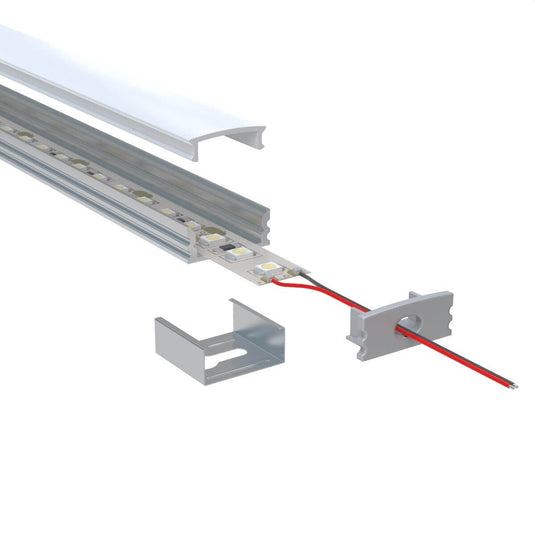
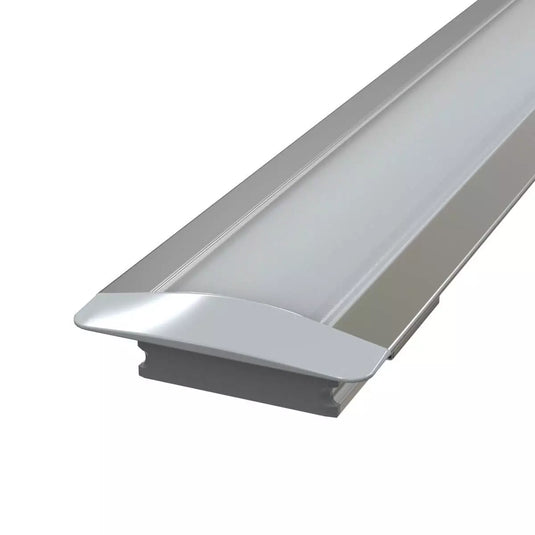
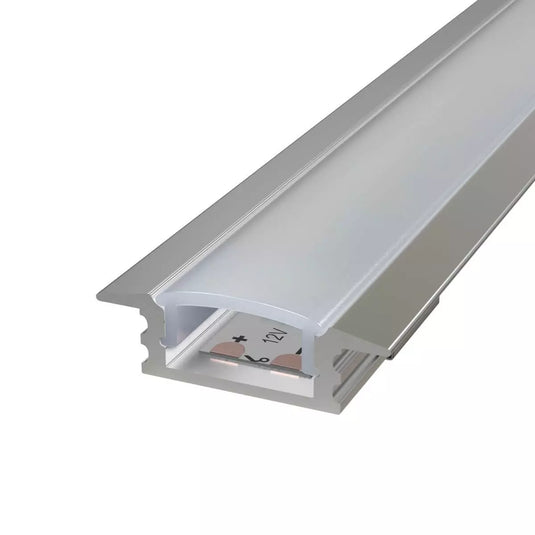
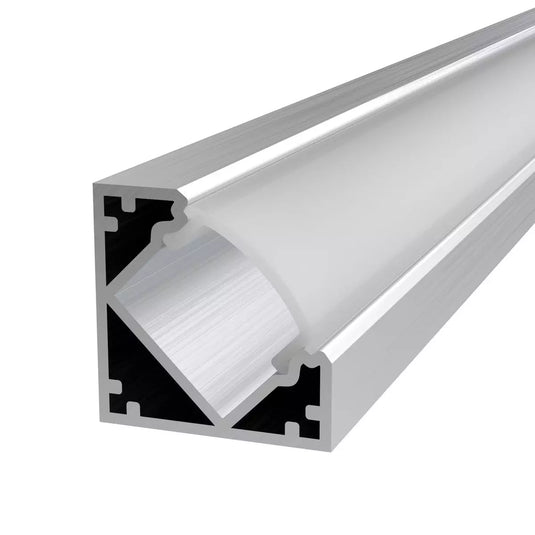
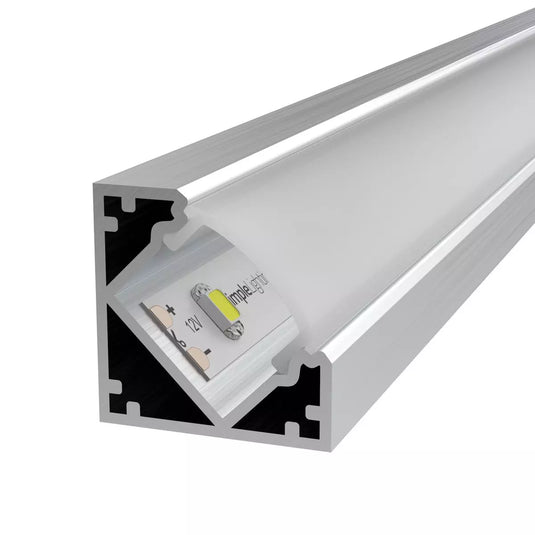
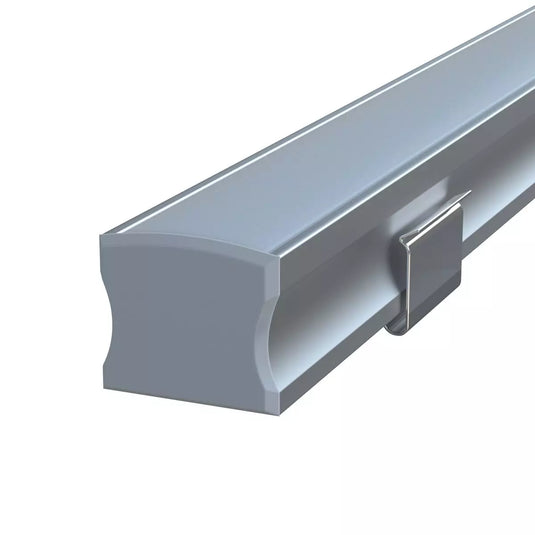
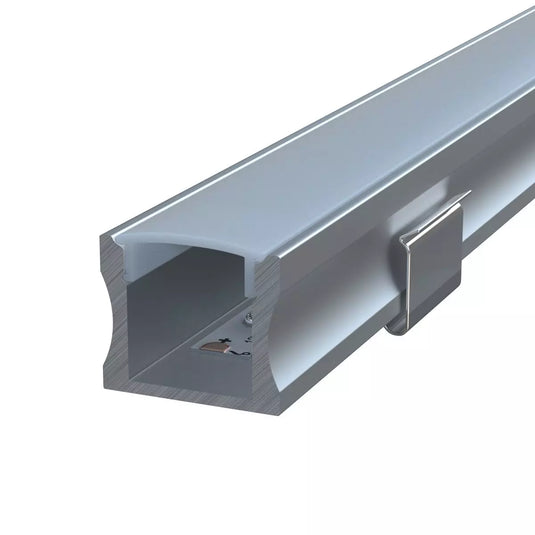
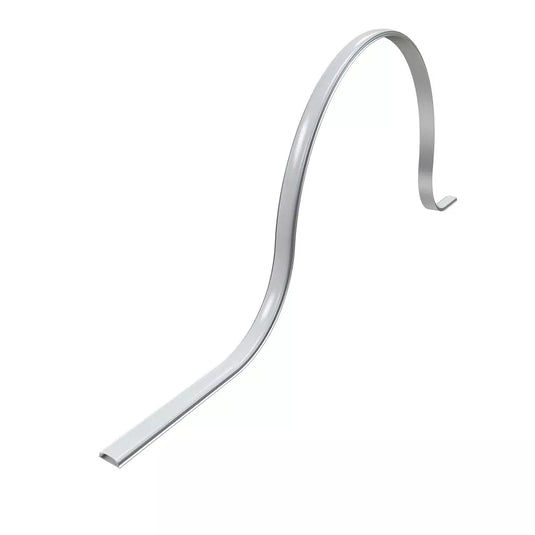
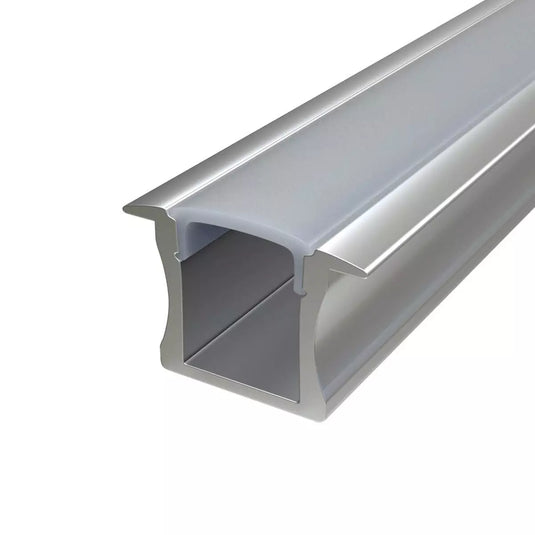
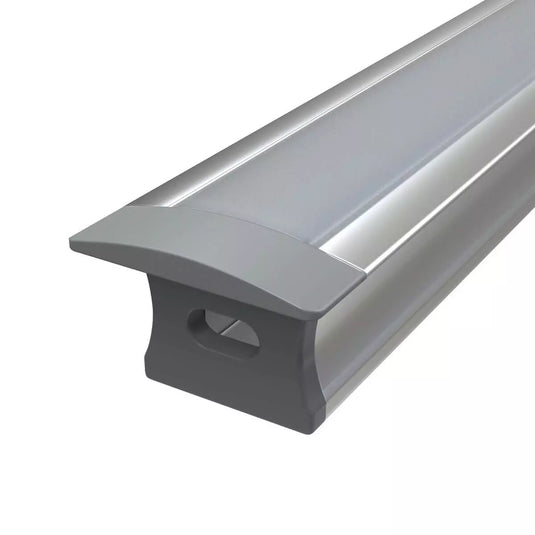
- If you plan to use an aluminium LED profile, drill small holes for the brackets and attach the profile to the brackets.
- Carefully slide your strip lights inside the profile, or if you're not using one, peel the adhesive backing of the strip and stick it directly to the surface you've prepared.
- Feed the wires to the location where you will set up the LED driver/Controller. Stick it under your cabinet and feed the wire through or behind going up.
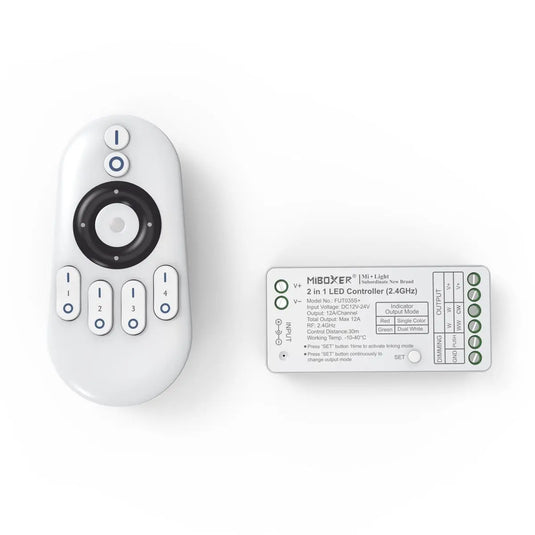
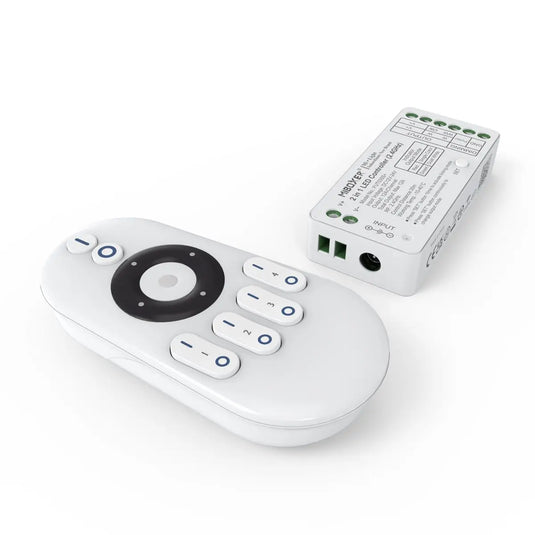
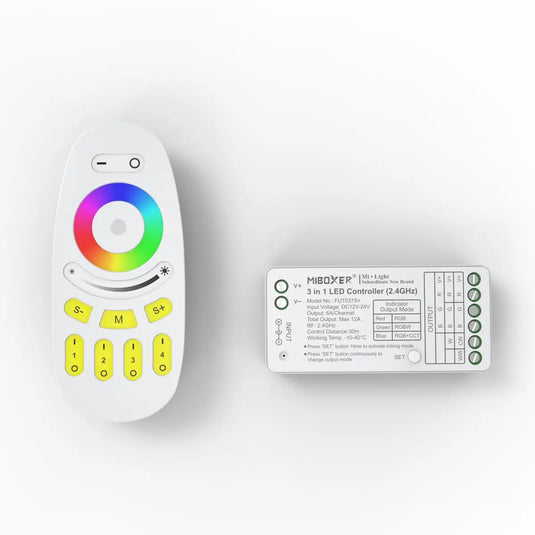
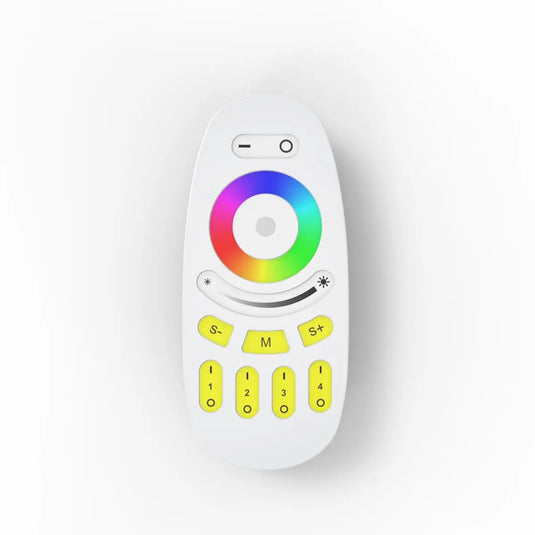
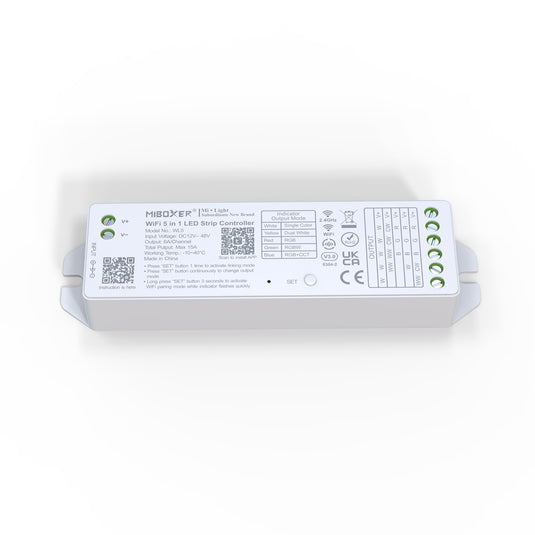
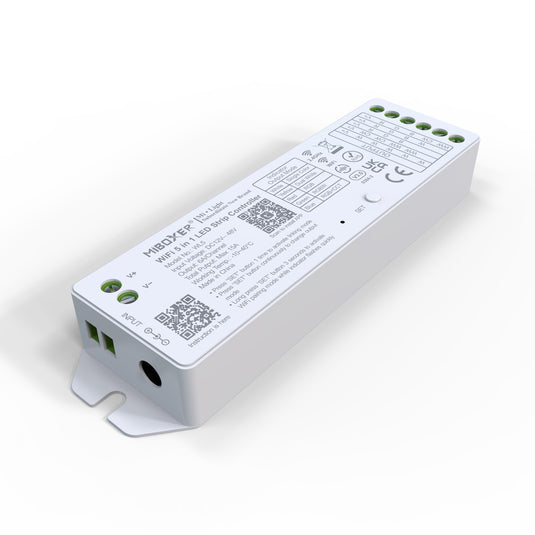
- Link the wire to the LED Controller (required for RGB strip lights and optional for single-coloured ones).
- If you don't want to add a controller, wire your lights directly to the LED driver.
- Wire the LED driver to your mains circuit or attach a plug to the end of the driver, plug it into an empty socket, and say hello to your magnificent strip lights!
How to Connect LED Strip Lights?
There are three ways to connect your strip lights, we can do it for you, soldering or with a strip connector.
Leave it to us - We'll connect your strips for you and make a custom LED strip light kit for you, just let us know how you want to buy LED strip lights (i.e. colour temperature, remote controlled or not, etc)
Soldering
- In a ventilated area, prepare the wires by soldering the ends.
- Add some solder to the contact points of each strip.
- Use the soldering iron to attach the wires to their designated contact point, and you're good to go!
Strip Connector
- Get a strip connector compatible with your strip lights.
- Carefully slide the flexible LED strip light into the connector.
- Line the wires in parallel with the matching colour on the strip.
- Depending on the type of connector you're using, close it. Ensure that the connector does not inhibit an LED light, or your strip lights may not work correctly through the power supply.
- Featured
- Best selling
- Alphabetically, A-Z
- Alphabetically, Z-A
- Price, low to high
- Price, high to low
- Date, old to new
- Date, new to old
