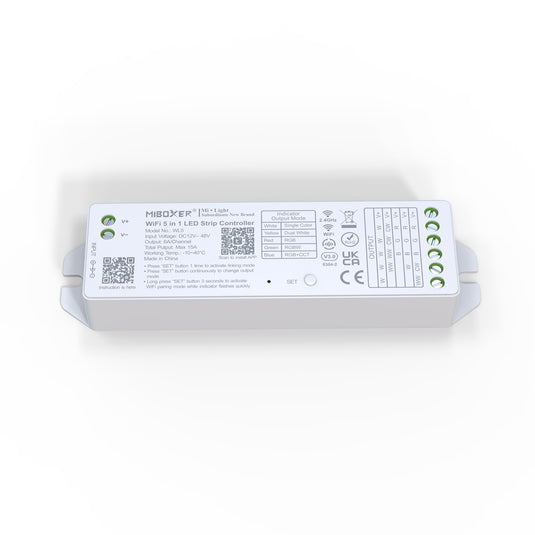
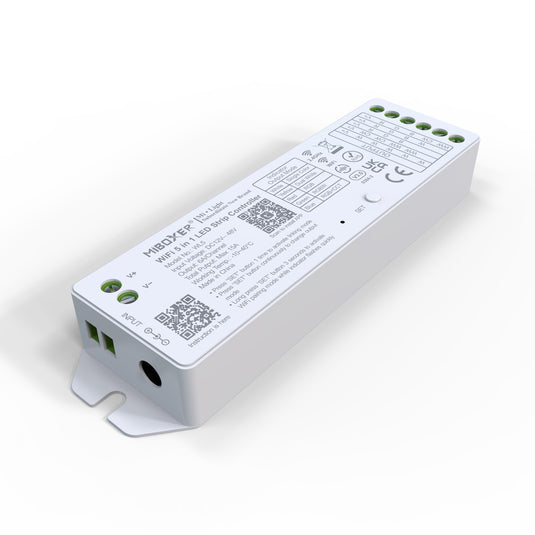
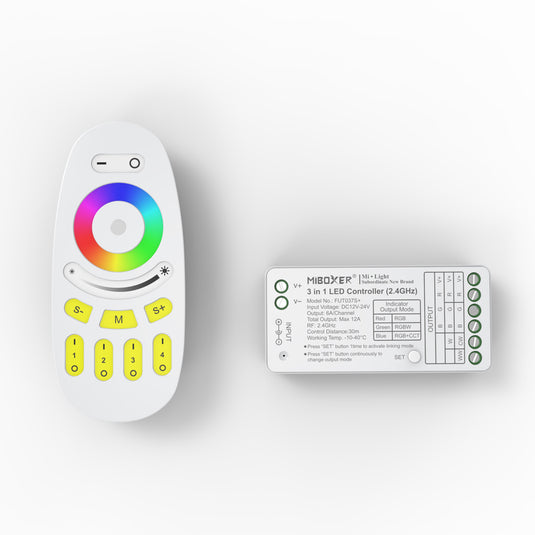
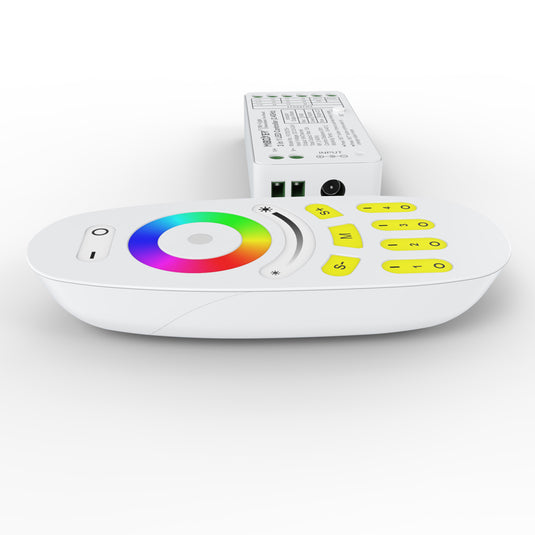
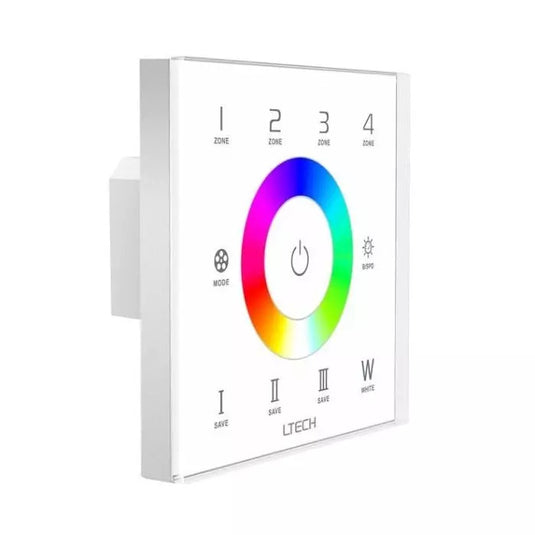
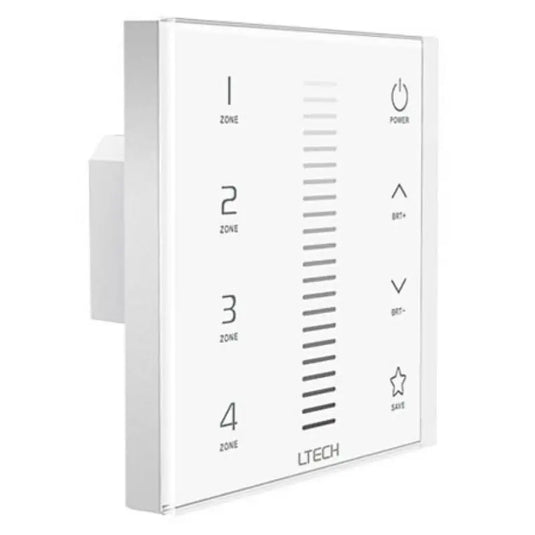
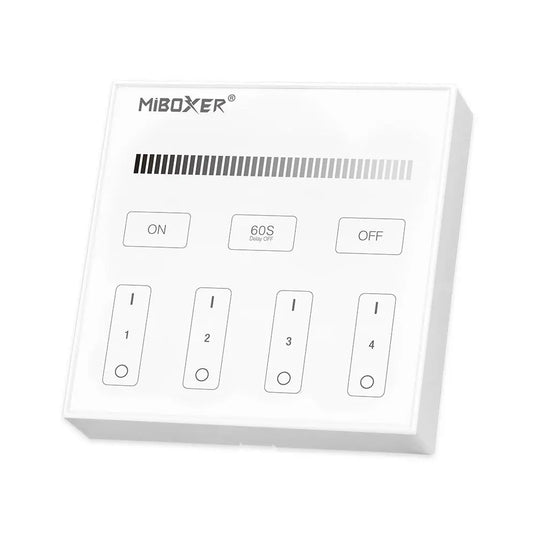
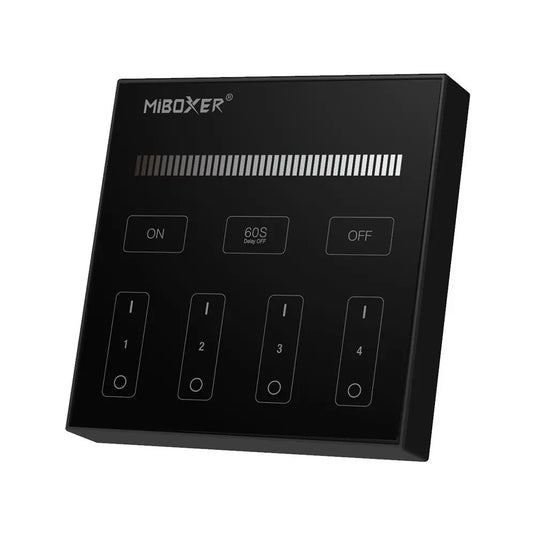
LED Controllers
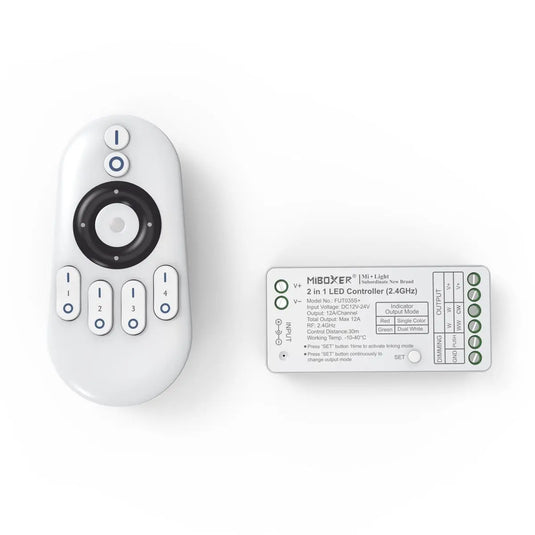
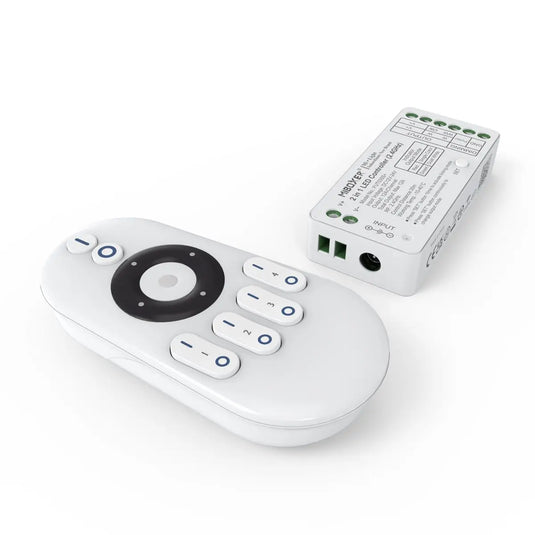
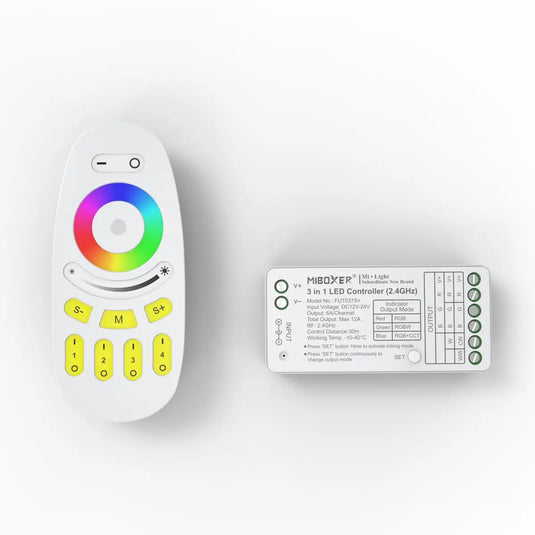
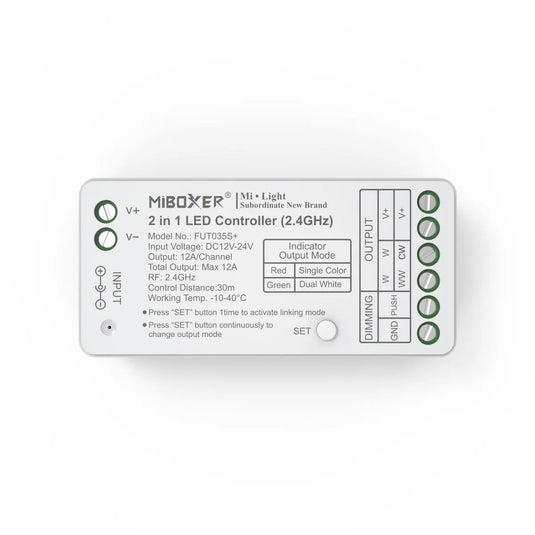
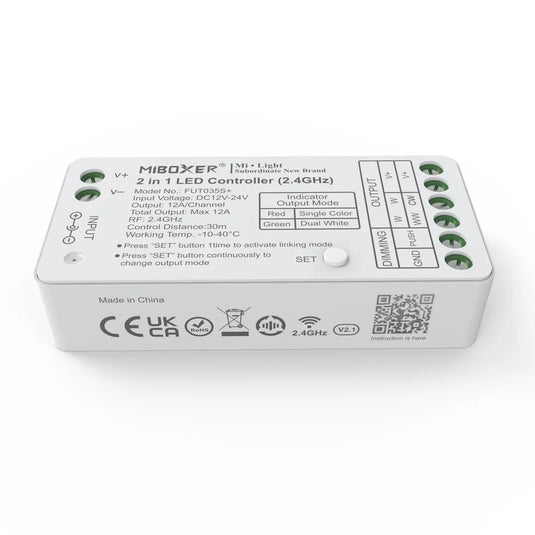
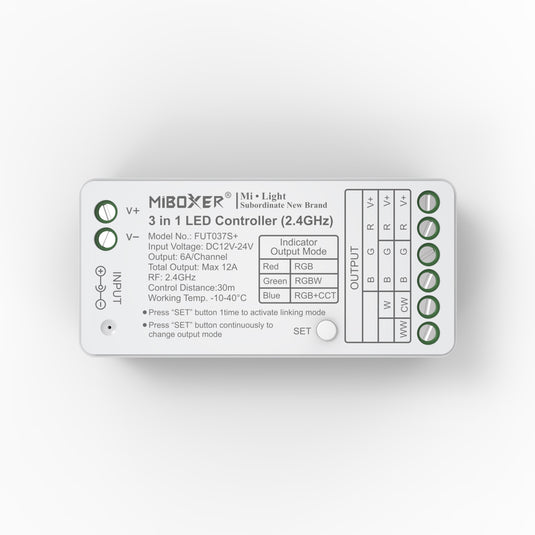
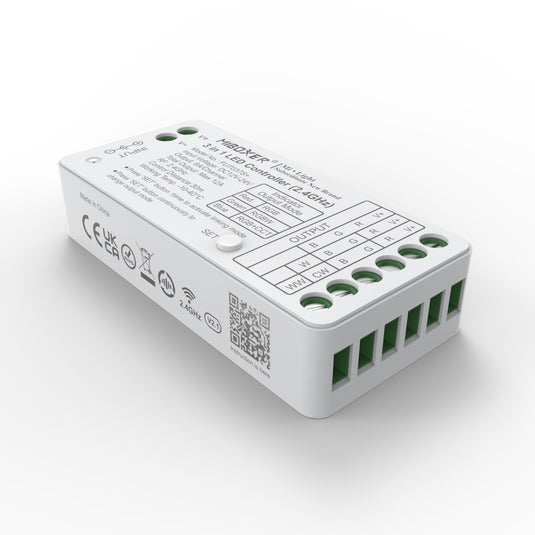
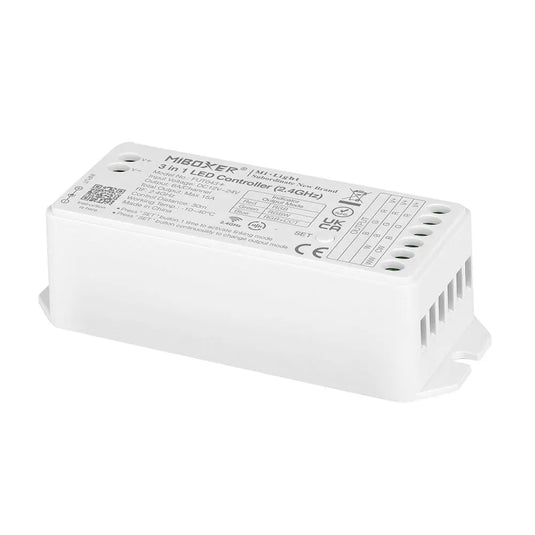
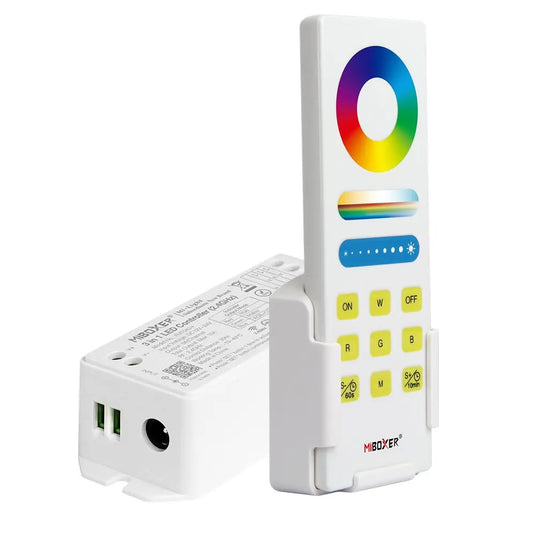
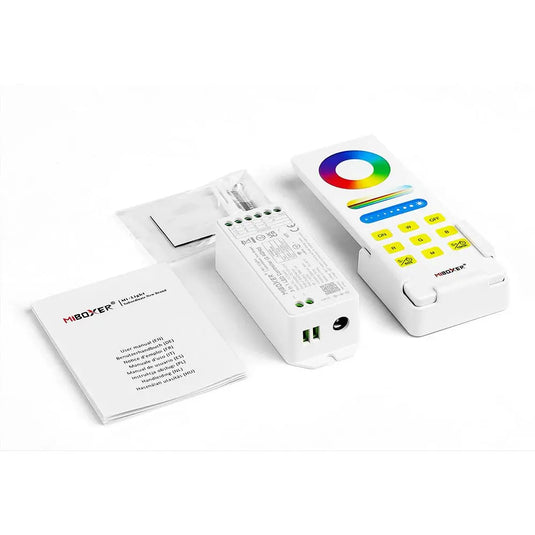
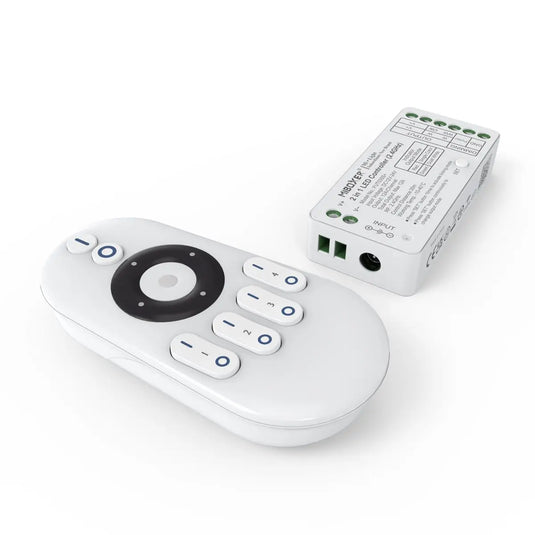
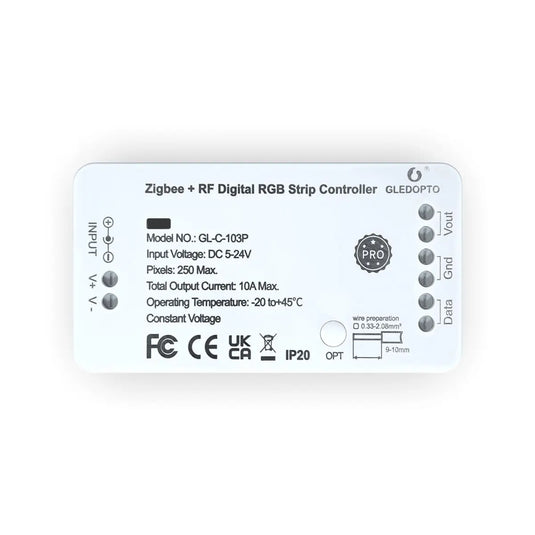
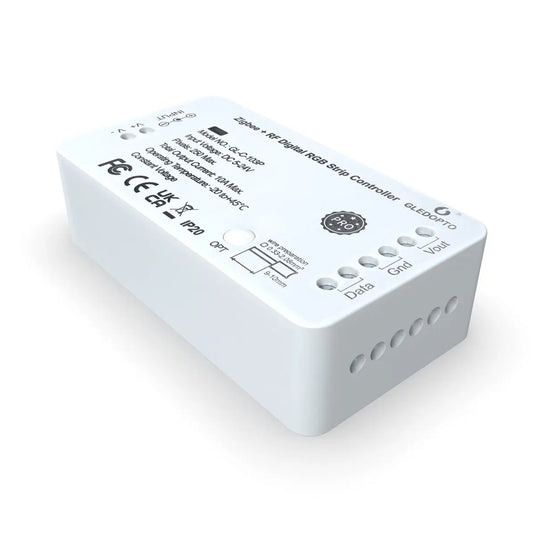
Adding an LED controller to your lights can transform how you manage them. Forget about standing every time you want to dim your lights or having to walk through your kitchen just to turn off the lights you left on. An LED controller comes in different types, control options, and maximum load capacities so before you buy, go through the specifications to know what you'll be dealing with.
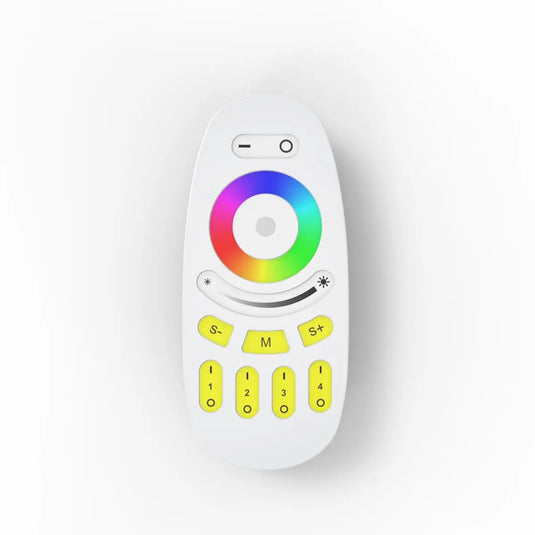
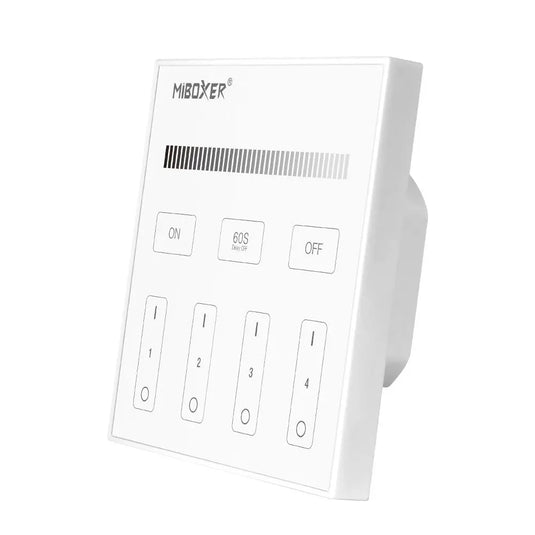
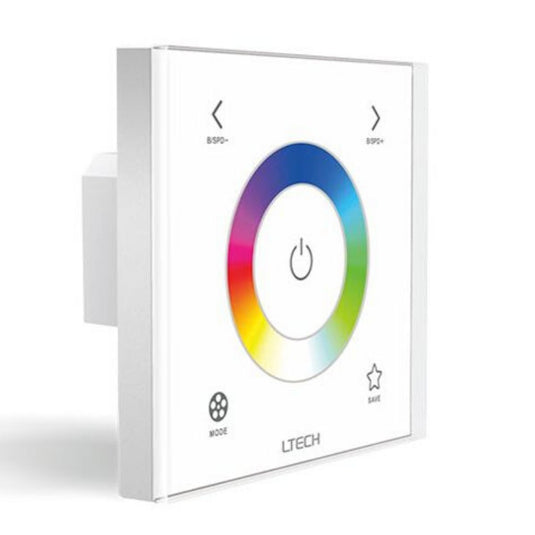
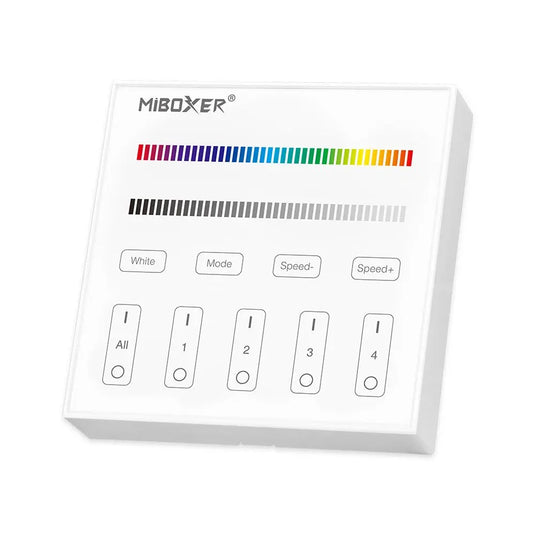
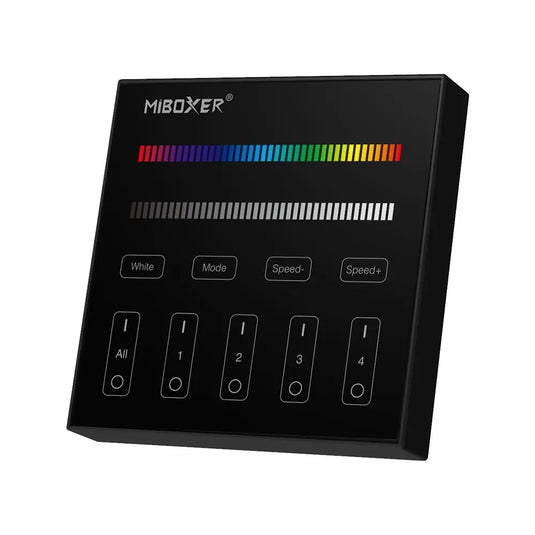
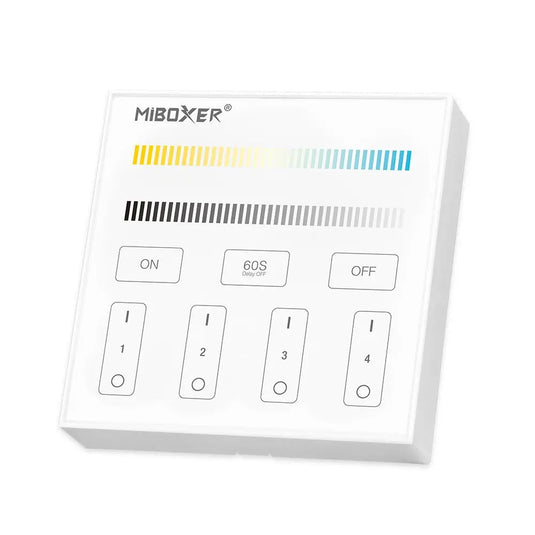
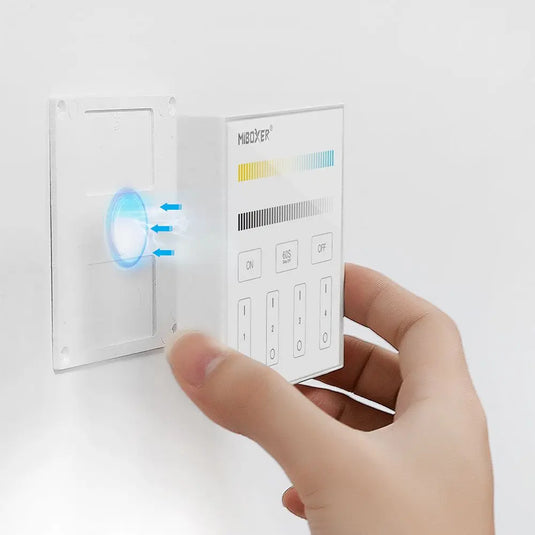
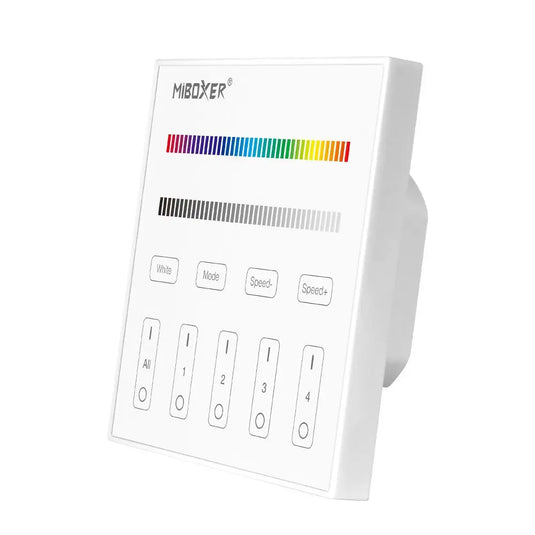
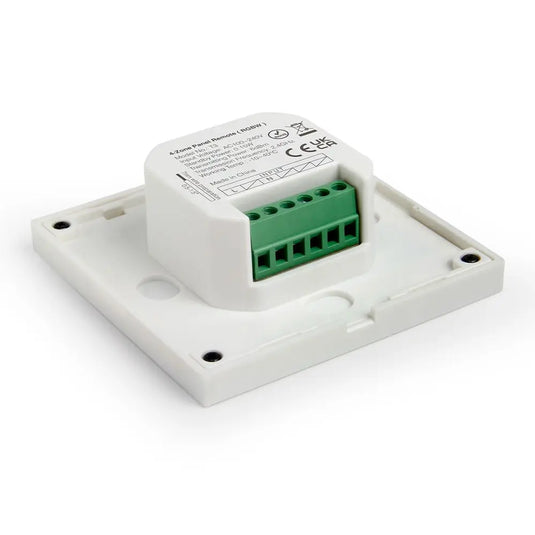
LED controllers allow you to control your lighting design. Depending on the lights that you hook them up with, you can use a controller to switch them on/off, dim/brighten, or change the light colour with a click of a button!
How to connect multiple LED strips to one controller?
If you’re wondering if it’s possible to have a centralised controller for all your LED strip lights, the answer is yes! All you need is a few receivers (one for each room), one LED driver, and one remote. Before you jump right in, remember to pair your LED strip with a controller that's compatible with its function. If you have an RGB LED strip, look for an RGB controller, or have an RGB + W LED strip, then an RGB + W controller is what you need. Now that you're all set, here's what you got to do:
- Connect your LED receiver to the LED driver. If you're using multiple strips, one receiver per strip.
- Connect your driver connection leads to the receivers (one is to one).
- Connect the LED strip to each connection lead.
- Turn the receiver on, then press the synchronisation button (depending on the model of your receiver).
- In the remote, assign the channel they will be in. Check if the LED strip is in sync.
- Depending on how many channels your remote has, you can assign each channel per receiver so you can control them. You may have to repeat this process multiple times depending on how many strips you will be using.
How to connect wi-fi LED controller?
The key to a hassle-free installation of your wi-fi LED controller is by preparing all the materials that you will be needing. Here's what you should put together:
- Multi-channel receiver
- LED strip
- Wi-fi receiver
- Power supply for your wi-fi receiver
- Power supply for your LED strip
Now that you have everything prepared, here's what you'll need to do:
- Wire the multi-channel receiver to the LED strip.
- Wire the multi-channel receiver to the power supply.
- Get your other power supply and wire them to the wi-fi receiver.
- Power your strip and wi-fi receiver, then grab your phone and, in your wi-fi setting, find the wi-fi receiver network (depending on the model).
- Go to the app (depending on the manufacturer) to pair the multi-channel receiver to your phone, and you're done! You have complete control of your strips on your phone.
- Repeat the pairing process if you’re planning to use multiple strips.
How to control LEDs?
We have various ways to control your LEDs. You can use a regular light switch, dimmer, sensors, controller, or Smart devices.
- Standard light switch – switch on/off using a regular light switch.
- Dimmers – switch on/off and dim/brighten using traditional dimmers.
- Sensors – switch on/off using hand or door movement or via touch sensor.
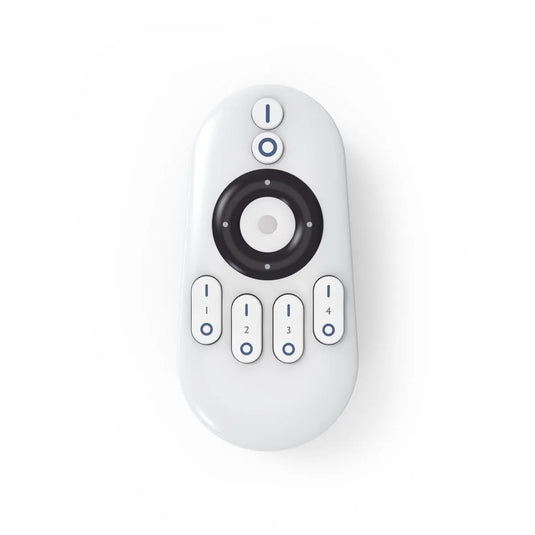
- LED controller – switch on/off, dim/brighten and change colour using a remote control.
- Smart device – switch on/off, dim/brighten, change colour, etc., using a smartphone or via Alexa or Google Home.
- Featured
- Best selling
- Alphabetically, A-Z
- Alphabetically, Z-A
- Price, low to high
- Price, high to low
- Date, old to new
- Date, new to old
