Looking at your room, have you ever thought, “Wow, this place could use more drama”? LED strip lights are the answer. They can turn dull spaces into vibrant, modern havens with minimal effort.
These handy little lights are not just about looks. They’re energy-efficient, easy to install, and completely customisable. Whether you’re adding under-cabinet lighting, creating a sleek backlit effect, or illuminating your garden, LED strips can do it all.
But before installing LED strip lights onto every available surface, you need to know what you’re doing. Messing up electrical work is no joke. Thankfully, this blog will guide you on how to install LED strip lights like a champ.
Planning Your Installation
Before you start sticking LED strips everywhere, take a moment to plan. A little prep saves time and frustration.
Choosing the Right LED Strip Lights
Picking the right LED strip is crucial. The wrong choice can leave you with dim or overly bright spaces.
Not all LED strips are the same. Here’s what to look for:
-
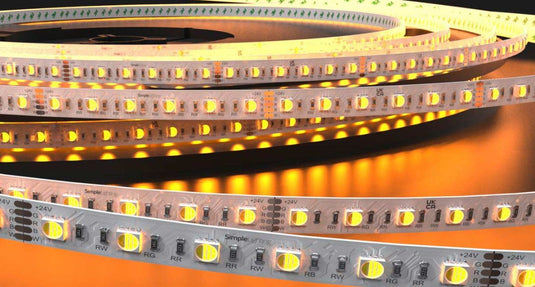
SMD Chips. The number (e.g., 5050, 2835) tells you the chip size. Bigger usually means brighter.
-
Colour Temperature. Measured in Kelvin (K). Warm white (2700K to 3000K) is cosy, and cool white (5000K to 6000K) is crisp.
-
Brightness (Lumens). Higher lumens = brighter light.
-
Waterproof Ratings (IP Ratings). IP20 is for indoor use. IP65+ is splash-proof, IP67 is rainproof, and IP68 is fully waterproof.
Recommendations
-
Living Room. Warm white (2700K to 3000K)
-
Kitchen. Cool white (5000K to 6000K)
-
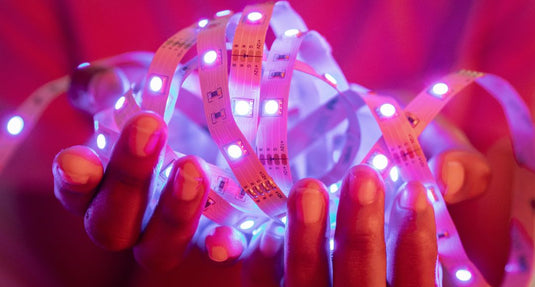
Accent Lighting. RGB or RGB + WW for fun colour effects
-
Outdoor. IP67 or higher for weather protection
Calculating Your Needs
You don’t want to run out of lights mid-installation. Measure carefully and get a power supply that can handle the load.
-
Length. Measure your space. Buy a bit extra—cutting is easy, but extending is harder.
-
Power Supply. Add up the wattage of your LED strips. Multiply watts per metre by the total length. Get a power supply with 20% more capacity than needed.
Planning Your Layout
Different setups require different layouts. Consider where you want light and how to hide wires for a neat finish.
-
Under Cabinets. Adds task lighting in kitchens.
-
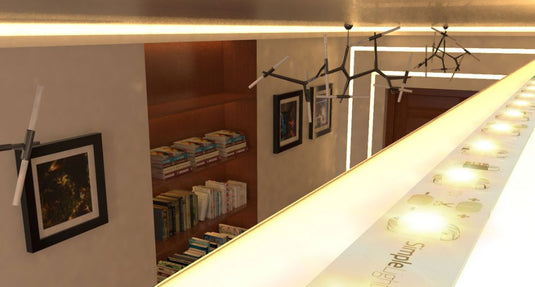
Cove Lighting. Creates an elegant floating effect.
-
Backlighting. Perfect for TVs and monitors.
-
Outdoor Pathways. Safe and stylish.
Gathering Your Tools and Materials
Having the right tools makes installation smooth. Get everything beforehand to avoid mid-project trips to the store.
-
LED strip lights
-
Power supply
-
Connectors
-
Mounting clips
-
Wire strippers
-
Adhesive tape
-
Soldering iron (optional)
-
Remote/dimmer (optional)
Step-by-Step Installation Tutorials
Next, it’s time to learn how to install LED strip lights properly. Follow these steps for a smooth and frustration-free installation.
Under Cabinet Lighting
Perfect for kitchens, under-cabinet lighting enhances visibility and ambience. Follow these steps, and you’re golden.
-
Clean the surface.
-
Stick the LED strip under the cabinet.
-
Use connectors or solder to extend strips if needed.
-
Plug into the power supply.
-
Test the lights.
Tip: Hide strips behind cabinet edges for a seamless look.
Cove Lighting
Cove lighting creates an elegant, indirect glow. Proper placement and concealment ensure a smooth, professional effect.
-
Mount LED strips in the cove.
-
Conceal power cables neatly.
-
Connect to a power supply.
-
Test the lighting.
Tip: Use diffusers for a smooth glow.
Outdoor Lighting
Outdoor lighting requires waterproofing and durability. Choose high IP-rated strips and secure them against weather exposure.
-
Choose IP67+ rated LED strips.
-
Mount securely with clips.
-
Connect to an outdoor power source.
-
Seal connections with waterproof silicone.
-
Test.
Around Corners
Navigating corners can be tricky. Use the proper connectors and techniques to maintain a seamless flow of light.
-
Use L-shaped connectors.
-
Bend carefully—don’t fold.
-
Test to ensure brightness is consistent.
On Uneven Surfaces
Uneven surfaces can cause adhesive failures. Use mounting clips or flexible strips to ensure a secure hold.
-
Use flexible LED strips.
-
Apply strong adhesive or mounting clips.
-
Check for gaps and secure firmly.

Connecting and Wiring
Wiring might sound scary, but it’s simple when done right. Let’s get your LED strips powered up safely.
Connecting LED Strips Together
Whether you’re extending or branching, proper connections prevent flickering and ensure smooth power distribution.
-
Solderless Connectors. Though this is easy to snap on, it’s not always reliable.
-
Soldering. This takes more work but lasts longer.
Wiring to a Power Supply
Powering your LED strips correctly avoids overheating and failure. Match voltage and polarity to keep things running smoothly.
-
Match voltage (12V or 24V).
-
Use a DC connector or hardwire.
-
Double-check polarity (positive to positive, negative to negative).
Using a Dimmer
A dimmer lets you control brightness. Choose between manual or smart dimmers depending on your needs.
-
Manual Dimmer. Simple and cheap.
-
Smart Dimmer. Works with apps or voice assistants.
Controlling with Remotes or Apps
Smart lighting is convenient. Choose between IR remotes, Bluetooth, or Wi-Fi controls for a high-tech experience.
-
IR remotes work line-of-sight.
-
Wi-Fi and Bluetooth allow smartphone control.
-
Smart home integration makes automation easy.
Troubleshooting and Maintenance
Even the best setups run into issues. Here’s how to fix common problems and keep your lights in tip-top shape.
Common Problems and Solutions
Issues can happen while installing LED strip lights. From flickering to power loss, here’s how to troubleshoot and fix common problems.
-
Not Turning On. Check the power supply and connections.
-
Flickering. It could be a loose connection or an insufficient power supply.
-
Dim Light. Ensure the correct voltage and wattage.
-
Colour Issues. RGB controllers sometimes get confused—reset them.
Repairing Damaged LED Strips
Accidents happen. Learn how to fix broken LED strips with soldering or snap-on connectors.
Cut out the damaged section and reconnect using a solderless connector or soldering iron.
Maintaining Your LED Strip Lights
Proper care extends the lifespan of LED strips. Regular cleaning and connection checks prevent issues down the line.
-
Clean with a dry cloth.
-
Check connections regularly.
-
Replace faulty sections instead of the whole strip.
Frequently Asked Questions
Can you cut LED strip lights?
Yes. Cut at the marked points. Reseal the end if needed.
How can I install LED strip lights on ceilings?
Use adhesive or mounting clips when installing LED strip lights on ceilings. Place them in coves or along edges for a floating effect.
How to install LED strip lights on walls?
Peel and stick works, but mounting clips offer better security over time.
What’s the best way to install LED strip lights?
Plan ahead, clean the surface, and don’t overload your power supply.
Can LED strips be controlled with Alexa or Google Home?
Yes, but you need Wi-Fi or Bluetooth-enabled LED strips that support smart home integration.

Light Up Your Space – Take Action Now!
LED strip lights are simple but powerful. With the proper planning, they can completely transform your home or workspace.
Thinking about installing LED strip lights? LED Supplier has everything you need! Visit our website and check our products today!