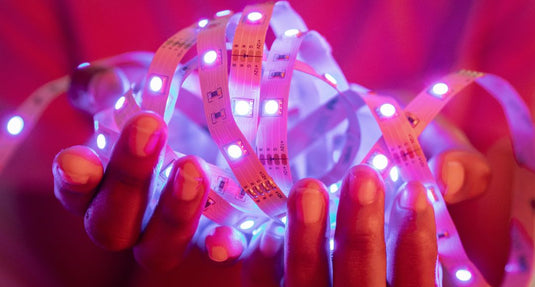
LED strip lights are so common nowadays that you can see them used almost anywhere. Be it your local hardware store, your favourite restaurant, or even at church. And with the widespread use of LED strip lights, it’s also common to see strips that are already falling off, flickering, or burnt out due to poor installation.
Shining a Light on Errors: Common LED Strip Light Installation Mistakes
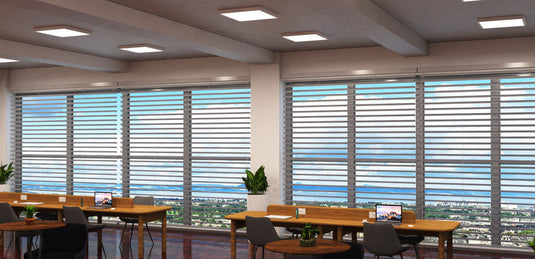
DIY LED strip light installations have surged in popularity due to their ease of use, versatility, and long lifespan. These flexible lighting solutions can be easily applied to various surfaces, including flat and uneven ones. This allows DIYers to visually enhance spaces like bedrooms, kitchens, and living areas without needing professional assistance. (If you’re unsure or not confident to install it on your own, we recommend getting help from qualified electricians.)
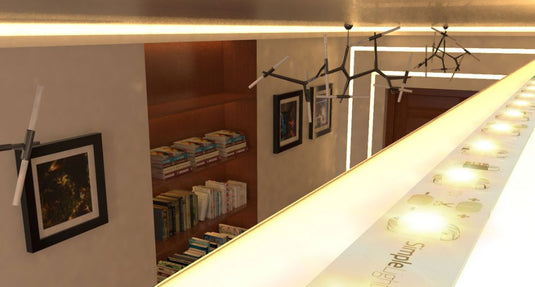
LED strip lights have become a go-to choice for modern and stylish lighting solutions, especially with the rise of social media, where people share their creative lighting projects, inspiring others to create their own.
But sadly, as you’ll soon learn, not everything that looks good was installed well. In this guide, we’ll highlight common problems with LED strip lights installation and how to avoid them, ensuring that your projects last longer.
What to Avoid in Your Project
These mistakes are simple yet have a significant impact on your LED strip light project. The funny thing is, each one can easily be avoided by being more attentive when installing the lights.
Incorrect Measurement
This is the most common mistake DIYers make. Inaccurate measurements can lead to strips being too short or too long for the project's dimensions and layout. Too short strips could mean inconsistent lighting and unwanted shadows. At the same time, excess strips can be difficult to manage and may end up being wasted.
How to avoid: Measure twice, cut once! Also, take into account the corners and obstacles your strips will need to wrap around.
Incorrect Power Supply (Driver)
Getting dim lights? Do LED strip lights burn out quickly? Then maybe you’re not providing your lights with the correct wattage or voltage. In other words, you’re using the wrong power supply.
How to avoid: Before installing and turning on your LED strip lights, calculate the total wattage required for your run. Then, get a power supply with a suitable rating (preferably one with a higher wattage capacity). Also, ensure the voltage matches. LEDs are usually rated at 12v or 24v. Check the labels on the box it came in.
Inadequate Surface Preparation
Dirty, dusty, and uneven surfaces on walls can contaminate the adhesive tape, causing poor adhesion and potentially leading to the LED strips falling, especially when mounting them using only their pre-fitted adhesive.
How to avoid: Simply clean the mounting surface thoroughly and ensure it is dry and smooth. You can use isopropyl alcohol to clean. For stronger adhesion, use heavy-duty tape in addition to the pre-fitted adhesive.
Not Planning the Wiring Route
When creating your layout, don’t just plan for the LED strip’s route, but also the route of the wires connecting your LEDs to the power supply. Failing to do so can result in a messy and unsafe wiring setup.
How to avoid: Create a clear plan of the wiring route. Consider how you can conceal or fix them neatly on the surface.
Avoiding Snags: Common Cutting and Connection Errors in DIY Projects
Cutting in the Wrong Place
LED strip lights have designated cutting marks, but, alas, some DIYers still fail to notice that until it’s too late. You should only cut through the cutting marks, nowhere else. Cutting away from the designated marks can damage the LED strip’s circuit, the LED components, or both.
How to avoid: Carefully locate the designated cutting marks, usually indicated by a scissor icon right at the centre of the copper pads. They’re hard to miss!
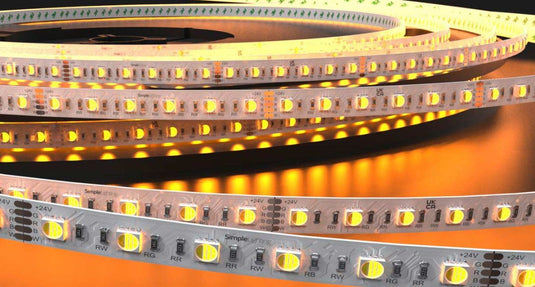
Damaging the Copper Pads
The copper pads, the small, exposed metals on the LED strip, with cutting lines in between them, allow your strips to be connected to power supplies and other strips through connectors and soldering. Cutting carelessly can damage the copper pads, rendering them inoperable.
How to avoid: Use only a sharp cutting tool (such as scissors or a utility knife) and apply even pressure while cutting along the cutting line.

Incorrect Use of Solderless Connectors
If you cut the strip correctly, but they still don’t work when attached to connectors, chances are, the strips are not correctly aligned with the connector or the clamp was not properly secured.
How to avoid: Ensure the LED strip is fully inserted into the connector, with the copper pads making good contact with the connector's contacts. Secure the clamp firmly.
Poor Soldering (for advanced users)
A cold solder joint occurs when the solder does not fully melt, preventing proper bonding. This results in unreliable power transfer or short circuits that can damage your LED strip lights.
How to avoid: Use a clean, tinned soldering iron and apply heat evenly to both the pad and the wire. Ensure a smooth, shiny solder joint.
Making it Stick (Properly): Avoiding Mounting Issues in Your Installation
Relying Solely on the Adhesive Backing
Don’t get us wrong: the pre-applied adhesive at the back of LED strip lights works, but they don’t usually work for long, especially on uneven or flexible surfaces. This leads to the strips peeling off and falling.
How to avoid: Use stronger double-sided adhesive tape or mounting clips for longer runs and applications on challenging surfaces. They’re more secure and long-lasting than the pre-applied adhesive.
Incorrect Use of Mounting Clips
Trying to save on mounting clips and spacing them too far apart will likely cause the strip to sag or even detach.
How to avoid: Don’t be stingy on clips. Use an adequate number, spaced evenly along the LED strip, especially on uneven surfaces or ceilings.
Twisting or Kinking the LED Strips
Overestimating the bendability of your LED strips can turn into a disaster. Depending on the type of strip, its ability to bend might differ. Bending the LED strips too sharply can damage the components or break the circuit.
How to avoid: Learn proper LED bending techniques. Bend strips gently and avoid sharp creases. Use corner connectors for 90-degree angles.
Getting the Power Right (Safely): Avoiding Electrical Errors in DIY Projects
Reversed Polarity
Misconnecting the positive and negative wires between the power supply and the LED strip prevents the lights from working and can potentially cause damage.
How to avoid: Pay close attention to the polarity markings (+ and -) on both the LED strip and the power supply, and connect them correctly.
Overloading the Power Supply
Each power supply comes with a rating of the wattage limit it can support. Connecting too many LED lights and exceeding the wattage limit can lead to overheating and ultimately, failure.
How to avoid: Calculate the total power consumption of your LED strips over their entire run and ensure that your power supply's wattage rating is higher. The excess wattage is to account for any power surges.
Incorrect Wiring of Controllers
Nothing good comes with any incorrect wiring. With LED controllers, it can lead to malfunction or damage.
How to avoid: Follow the wiring diagrams provided with your specific LED controller carefully. If unsure or not confident, get a qualified electrician to help you.
DIY Safety First: Mistakes That Can Be Dangerous
The following mistakes are all electrical-related. We recommend getting professional help from a qualified electrician if you’re unsure of how to proceed with proper and safe wiring for your LED strip light installation.
Working with Live Power
Cutting or connecting LED strips while the power supply is still plugged in is a recipe for disaster and is definitely something you should never do.
How to avoid: Always disconnect the power supply from the mains before working on the LED strips.
Using Unsuitable Power Supplies
LED strip lights have power supplies explicitly made for them. Not all power supplies you can find in your local hardware store can be used for your LED strips. Using power supplies not designed for LED lighting might break UK lighting regulations.
How to avoid: Only use power supplies specifically designed for LED strip lights and ensure they have the necessary UK safety certifications. You can get regulation-compliant LED drivers and accessories from trusted suppliers like LED Supplier.
Ignoring Wiring Regulations
Regulations, especially when making mains connections, are in place to keep you and your lighting projects safe. Not following these regulations compromises the safety of your whole project.
How to avoid: For any direct connection to the mains electricity, always consult a qualified and registered electrician.
Avoid These Pitfalls: Get the Right Gear for a Successful LED Strip Light Project!
Check out LED Supplier’s wide selection of high-quality LED strip lights to get your project started on the right track.
For more LED installation insights, you can check out our other guides:

Shine Bright, Not Wrong: Avoiding Common LED Strip Light Installation Mistakes in Your Home
The key to a successful and safe LED strip light installation is careful planning: choosing the right LED strip lights, determining where to mount the strip, how to mount them, and overcoming corners and obstacles. But more importantly, it’s knowing what things to avoid to ensure a clean and seamless installation.
Learn the proper techniques and safety precautions to have a successful DIY project. Otherwise, get professional assistance.