Plinth Lights
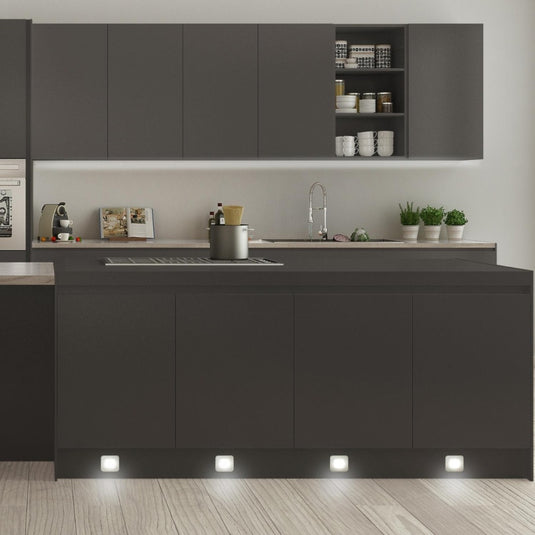
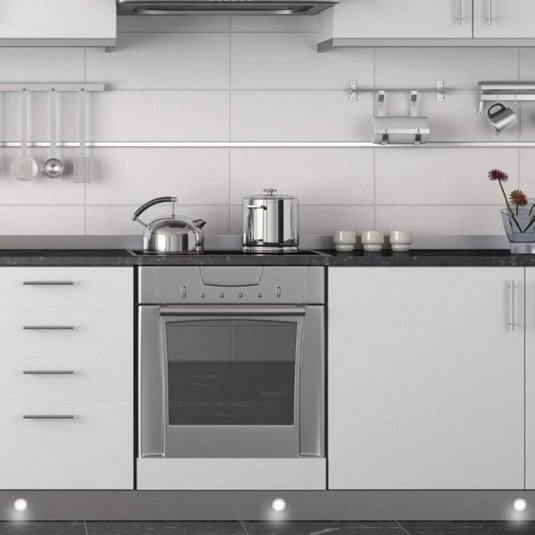
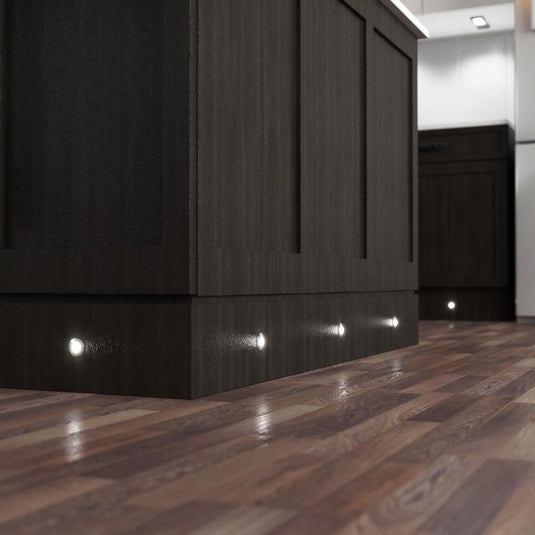
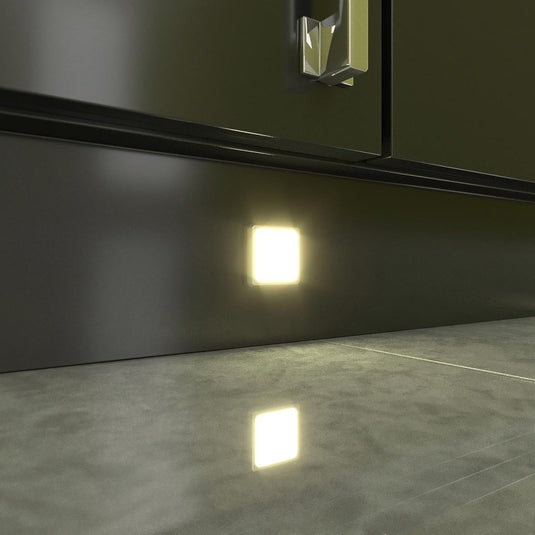
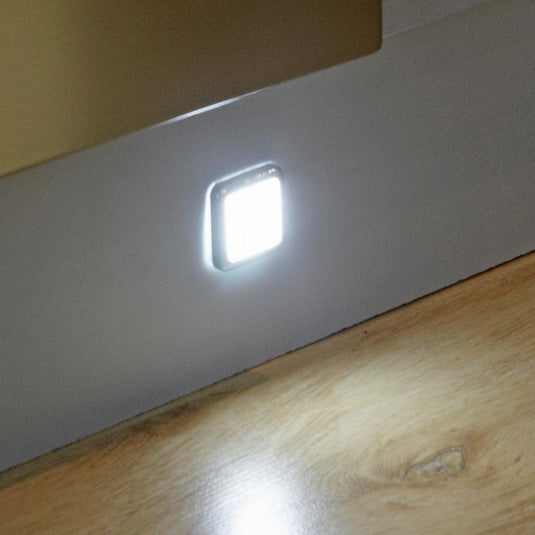
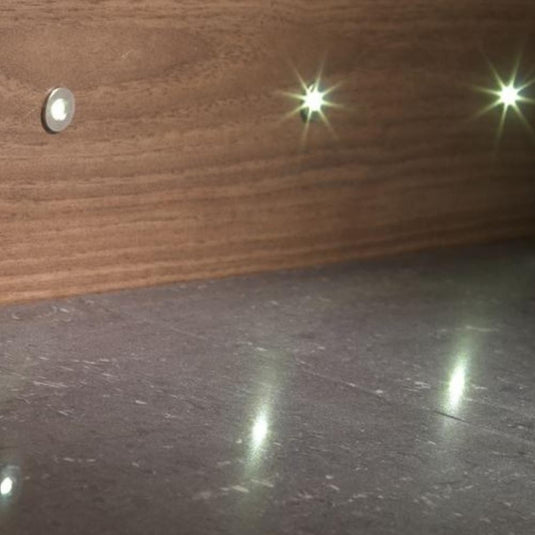
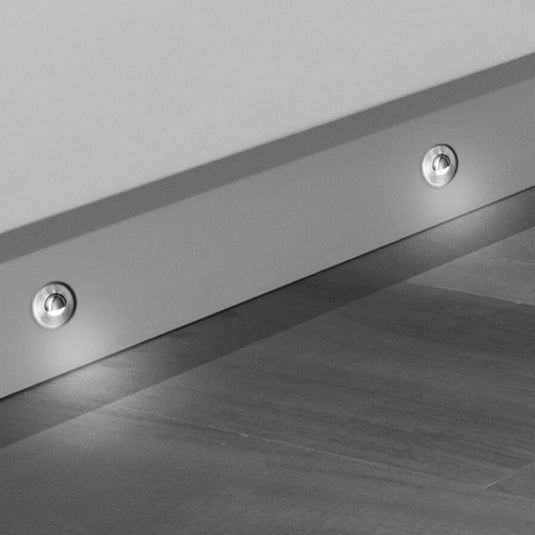
A plinth light is a small, discreet, low-level light typically installed in the kitchen kickboards, bathroom cupboards, and skirting boards. These lights will keep you safe at night by illuminating the floor so you won't be tripping every time to visit the bathroom or look through the fridge for some midnight snacks.
Another reason why these lights are a hit is that they enhance the visual appeal of your space. They add depth, dimension, and a unique mood lighting to the room. If you're keeping up with the trends, then you know a floating island effect. Wondering what lights they use to achieve that? It's plinth lights!
How to Fit Plinth Lights?
If this is your first time fitting kitchen plinth lights, then it can pose some difficulties. So, here's what you need to do. Before anything else, measure your kickboard or wherever you plan to install your lights. Usually, to optimise the brightness of your lights (cool white, warm white, etc), you'll want to keep them apart at around 500mm or 1000mm each.
When it comes to installation, it's pretty straightforward. Once you marked and measured the distance of your kitchen lighting from each other, drill a small hole in the place you're mounting them and push the plinth light into the hole. All the LED plinth lights in our collection can be wired into a standard BS or EU socket or directly into the mains circuit. Now, your plinths will turn on/off when you flip the switch.
How to Replace Plinth Lights?
If you know how to install them, then you'll learn how to replace them. So, to replace your lights, the first thing you need to do is disconnect the wires of your plinth lights from the power source. If the cables are tied in the back, untie them to give more ease of movement when you're unwiring.
Once the wires are detached, you can pull out the plinth that you will be replacing. If you plan on changing everything, just repeat the process until all your lights are removed.
Now that you're with a blank canvas again, you can remeasure and fill in the holes that your old lights used to be, or you can keep it as is so you won't have to drill again. After attaching the new plinth lights, wire to the mains circuit, and that's it. Say hello to a stunning kitchen kickboard!
How to Wire Plinth Lights to a Switch?
Wiring lights are usually the most complex and dangerous process. So, if you're not an electrician and you know that you might not do an excellent job at it, then call for backup. You can just plan and measure or even drill, but it's better to leave it to the professionals when it comes to the wires. But if you know what you’re doing, then feel free to proceed:
- Feed each plinth light to the holes that you drilled. If the wires are too long, tie them to the side.
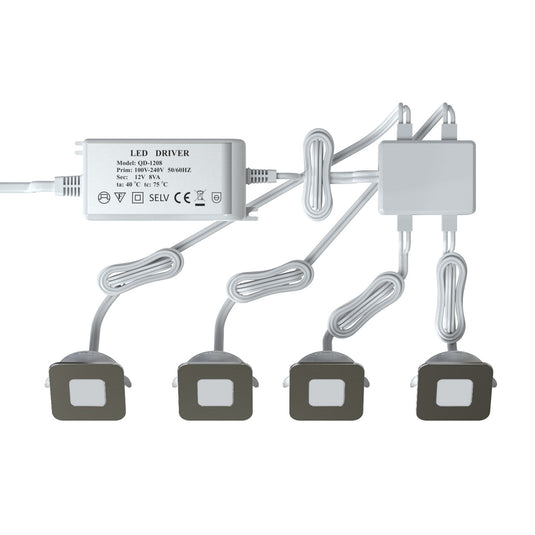
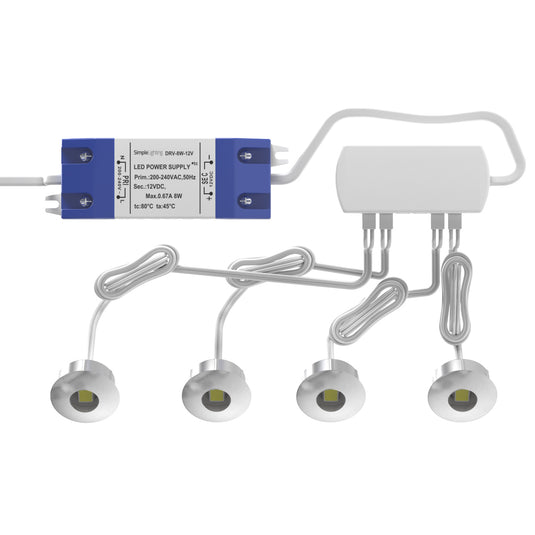
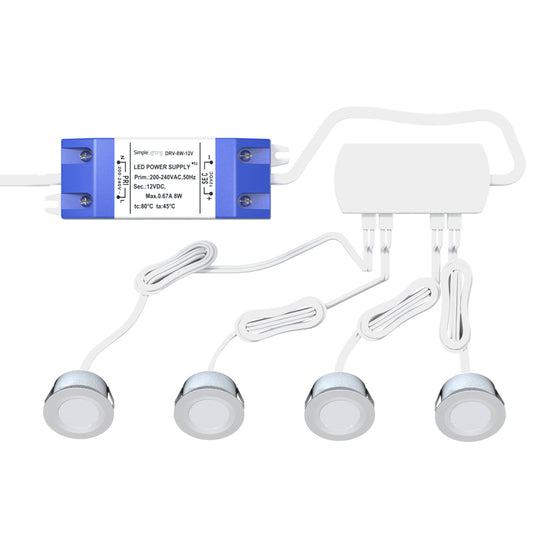
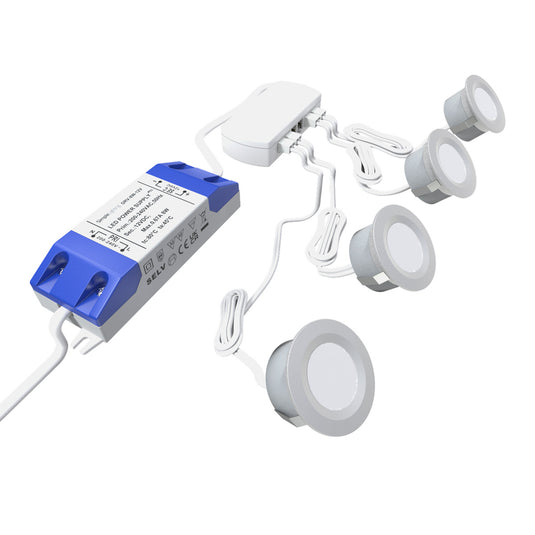
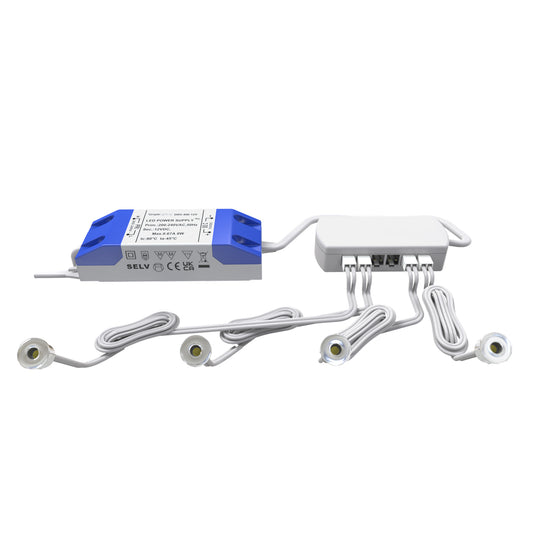
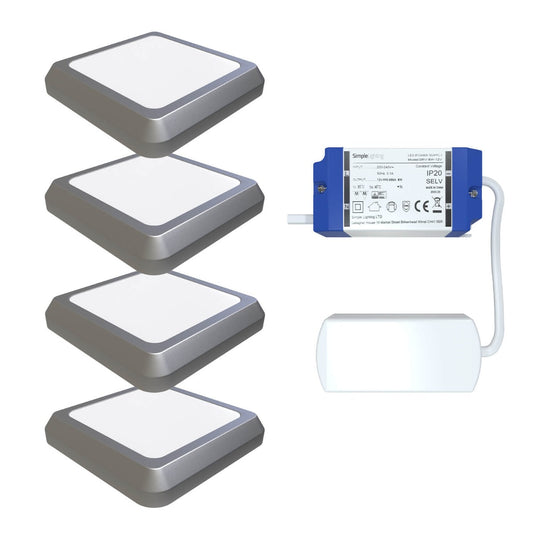
- Connect each light to a distributor (depending on what you're using, it can accommodate 4 lights or more).
- Connect the distributor to a recommended LED driver for your lights.
- Connect the driver to a plug or the mains so you can either plug them in a socket or control them using a switch.
Now that you know all the essential non-negotiables behind placing, wiring and replacing your LED plinth lighting within your home - here at LED Supplier, we offer a vast range of options for your liking.
Overwhelming lighting can often be used by many homeowners - yet this form of lighting will give you that seamless finish you’re looking for with a touch of class to go with it. Explore our LED plinth lights today to add the finishing touches to your modernised kitchen, below!
... Read More- Featured
- Best selling
- Alphabetically, A-Z
- Alphabetically, Z-A
- Price, low to high
- Price, high to low
- Date, old to new
- Date, new to old
